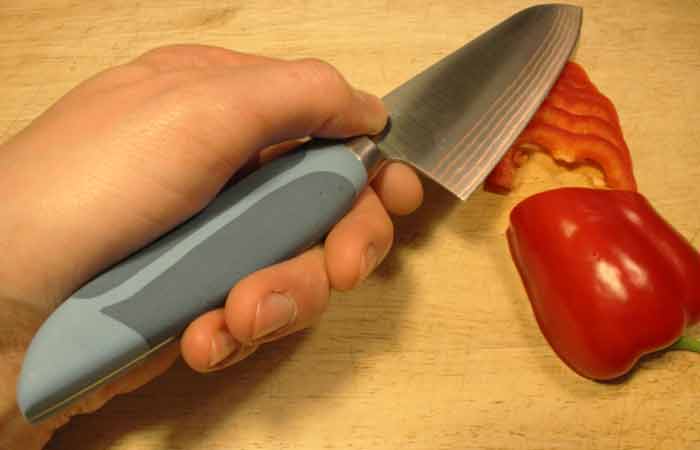
How Do You Make a Plastic Knife Handle?
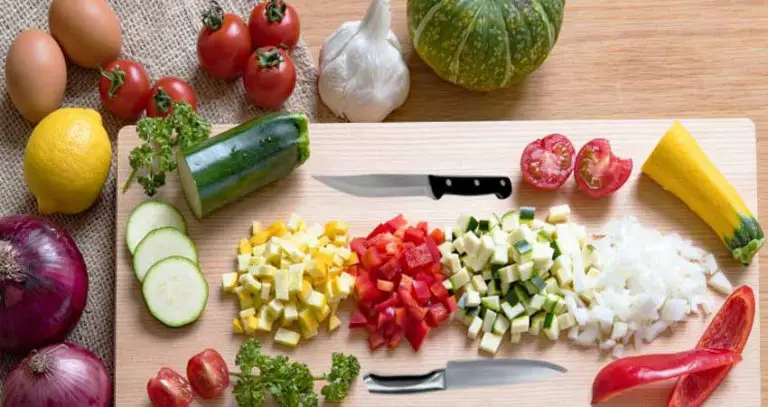
If you’re handy with a knife, you’ve already noticed how often you use them.
But have you ever looked at the bright-colored plastic handle on your knife and wondered, “How on earth did they make this thing?”
If you have, chances are you love knowing how things are made.
And if you’re a seasoned DIYer, or you simply need to fix your broken chef’s knife scales, you might as well save a little money by making a plastic knife handle yourself!
So how do you make a plastic knife handle?
You could glue plastic pieces together or shape a plastic block with sandpaper. However, there are a few more practical options you want to try. Read on to explore.
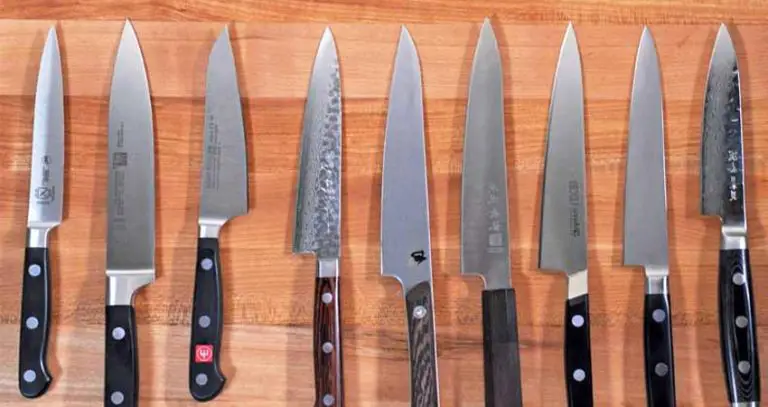
What Plastic Is Used For Knife Handles?
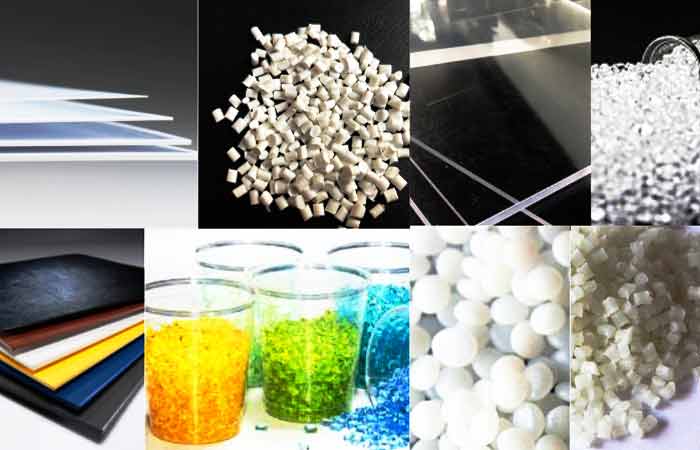
Plastic is undoubtedly the most common knife handle material, but it is not one specific plastic.
Some of the most common variations are:
- High-Impact Polystyrene (HIPS) is the most common plastic used to make knife handles because it is inexpensive and flexible. HIPS can be easily formed into any shape and are easy to color.
- Acrylonitrile Butadiene Styrene (ABS) is often used for stiff, high-impact plastic toys like Star Wars figurines. But it’s also a popular plastic used in knife handles because of its strength and temperature resistance, which’s why it’s famous for outdoor knives. While it’s also easy to use, there’s one drawback: it’s prone to staining, making it difficult to use in parts of your knife handle that will be visible.
- Thermoplastic Elastomer (TPE) handles are soft, flexible, and shock absorbing. This makes TPE a good option for grip handles on knives that will be used in wet or cold conditions.
- SAN (Styrene Acrylonitrile) is an alternative option—this plastic is nearly identical to ABS in terms of strength, but staining is not an issue.
- Acrylic handles: These handles are made from acrylic polymers, which do not absorb water and are resistant to fading or discoloration. They often include textured surfaces for a better grip.
- Polyoxymethylene handles: This material is also called acetal and polyacetal. It is extremely tough and durable, with a very high melting point. Polyoxymethylene is widely used in medical blades, surgical instruments, and everyday knives.
- Zytel: Zytel is a nylon product that can be molded into various shapes and textures. Zytel has a high level of impact resistance and can withstand high temperatures, making it ideal for knives used near hot cooktops or grills.
- Kraton: Kraton is an elastomeric material that combines rubber-like flexibility with excellent grip qualities. The handles are flexible enough to withstand shock without breaking but rigid enough to provide reasonable control over the blade’s direction and movement.
How To Make A Plastic Knife Handle
The process of making a DIY plastic knife handle is relatively simple, and there are countless ways to do so. It all depends on what kind of knife it is and how much time you want to put into it.
Here, we suggest a few ideas.
Method-1: Use Polymer Clay
The most accessible materials for knife handles are polymer clay, which comes in many different brands.
This plastic is a composition of pigments, oils, lubricants, plasticizers, fillers, and binders. It can get you complex patterns, and it is relatively inexpensive.
For this method, you’ll need a piece of wood or metal (the size of the handle you want), a rolling pin, and polymer clay.
Once you have them, proceed with the steps below.
Step-1: Roll the Clay
Roll out the clay with the rolling pin on a non-stick surface until it’s roughly 1/8th of an inch thick.
Step-2: Wrap Up the Wooden/Metal Piece
Place the metal/wood in the center of the rolled-out clay, wrap it up in the clay, roll it around until you have an even layer all around, and then trim off any excess material.
Step-3: Add Patterns
From here, you can add patterns to the surface by using stamps or carving tools to create designs in the clay.
You could also use various other methods to create patterns—use anything safe for manipulating polymer clay.
Step-4: Bake It
Once you’re satisfied with your design work, bake the handle in an oven according to directions on the package of clay you purchased.
After it cools, you can attach your knife blade to your new handle!
Method-2: Make A Mold From Melted Plastic Bottles
Making your own knife handle from melted plastic bottles can be fun and intriguing.
You will have to do some welding and grinding, but you will end up with a knife all your own.
Step-1: Get Your Bottles Ready
Find the proper plastic bottles for this project. You will need to use HDPE (high-density polyethylene) bottles. The plastic bottles used for milk containers or detergent bottles work well.
Step-2: Cut the Bottle into Small Pieces
Cut up the bottles into small pieces and place them in a metal container with a lid. This container should be able to place directly on top of the stove.
The lid should fit tightly so no molten plastic can escape onto your stove as it melts.
Step-3: Melt the Bottle
Turn the stove on medium-high heat and place the metal container with the bottles on top.
The bottles will start to melt and release toxic gas, so be sure to have proper ventilation while doing this project.
Step-4: Shape It Up
Once the bottles have melted down, take the container off the stove and use a welding torch to shape the plastic.
You can create any design you want, but be sure to leave some space at the end for the knife blade.
Step-5: Smooth Out to Finish
Once you have the desired shape, use a grinding wheel to smooth out the welds and create an excellent finish. You can then attach your knife blade to the new handle!
Melting plastic for knife handles is a great way to ensure the highest quality finish.
Method-3: Fill Up A Plastic Tube
Making a handle by filling up a plastic tube around the bottom of the knife is a quick and easy way to do it.
All you need is a plastic tube for your preferred handle size, a glue gun, and a piece of sandpaper. Here’s how to do it.
Step-1: Sand the Tang
Sand the tang, or portion of the knife that will go into the handle to give it a firm enough grip.
Ensure that you sand both sides well to obtain a rough surface.
Step-2: Seal on Side of the Tube
Now take the plastic tube and seal one of the openings using tape.
Step-3: Rest the Tube on a Flat Surface
Then place the tube on a flat surface to make it stand upright. You can put a few supporting objects around it to prevent its fall.
Step-4: Pour Hot Glue
Next, use a hot glue gun to fill up the tube. Once you’ve poured it fully, insert the knife tang and hold it until the glue cures. And that’s it! You’ve made a knife handle.
Alternatively, you can melt recycled plastic instead of hot glue for the pouring, which will produce an even more durable finish.
Method-4: Use A 3D Printer
If you have access to a 3D printer, it’s pretty easy to make a handle that is both functional and well-made.
This method starts with a simple outline of a knife handle in CAD software (Computer-Aided Design).
From there, you can design a handle of any shape or size that will fit your blade perfectly. And once you do, just print out the design, and voila! You’ve got yourself a new knife handle.
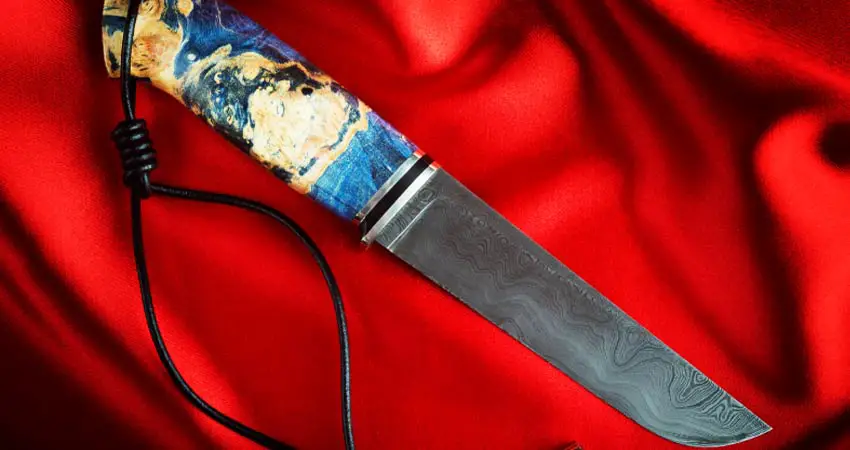
What’s The Best Alternative To Plastic For Making DIY Knife Handles?
Plastic is a pretty good material for knife handles, having advantages over other materials, such as being lightweight and relatively non-porous, so it stays clean more efficiently.
It’s also virtually maintenance-free, doesn’t require any special oils or treatments, and can be easily shaped or molded into any desired form.
However, if you want to make your own knife handles out of something else, there are many things you can use: wood, metal, bone, antler, even rubber, or leather.
Yet, if you’re more into art, creativity, or an extra dose of elegance, the best alternative is epoxy resin—to which you can add colors, glitters, custom patterns, wooden grain, corn kernels, and so much more to add your own creative flair.
To form a knife handle, you’ll need to make a mold out of clay or plumber’s putty to match the shape of your knife tang.
The material will expand as it hardens, and when it does, you get a super sturdy handle that’s sure to last for years.
Conclusion
So, there you have it. Now you can make your very own plastic knife handles! Which one will it be?
There are many ways to do this, but I’ve listed just a few above that are simple and don’t require much expertise.
Choose whichever method suits best for YOU and enjoy the process of creating something from scratch with whatever design or shape in mind.
After all, there’s no wrong way when we’re talking about hand-crafted items made by individuals who want them personalized just how they please.