How to Sharpen Japanese Knife with Japanese Water Stone?
Are you struggling to sharpen your all-special Japanese knife? Or looking to upgrade the sharpening skills to take care of this kitchen king better?
If your answer is affirmative, then you’ve got something special to make your job easier — the Japanese Water Stone.
This is considered a tried-and-true friend for Japanese knives over the years for its softer texture and effective sharpening performance.
But if you’re trying it for the first time, you might find it hard to get started on how to sharpen Japanese Knife with Japanese Water Stone.
Relax! Using the Japanese water stone to keep Gyutou or Deba in top shape is really easy peasy!
But again, it’s a procedure and you need to follow the protocols right. In this article, we investigate the whole thing for you and bring it to you in the easiest possible words.
When To Sharpen The Japanese Knife And Why Use A Japanese Water Stone?
Before moving into the actual procedure, you won’t mind us setting up the plot for you.
Japanese knives aren’t like European knives. They’re thinner and sharper. And they require special sharpening techniques. Japanese Chefs find sharpening as an important first step for preparing fine cuisine.
You’ve probably seen many Sushi Chefs sharpening their all-important knives at the end of each working day.
As you’re looking to Sharpen a Japanese Knife with a Japanese Water Stone, you seem to be upgrading your knife sharpening technique.
So make sure to have a better understanding of the following things first.
When Do You Need To Sharpen Your Knife?
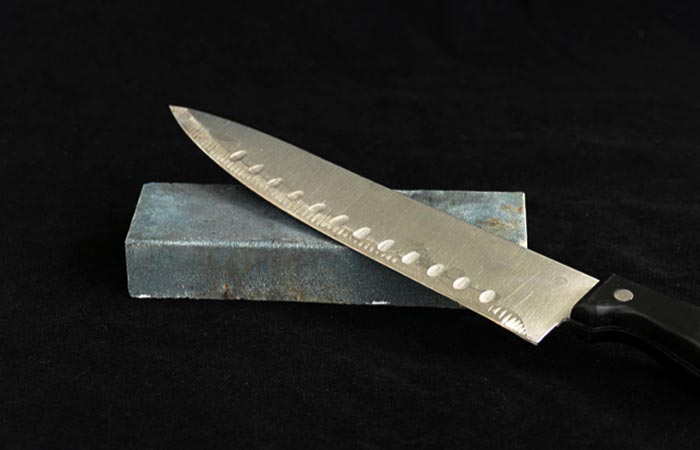
Ideally, you should be sharpening your knife by the end of your working day. This is what most Japanese chefs do. If you can’t make out time, at least make sure to sharpen when the knife is still relatively sharp.
Sharpening the knife in this condition will require around ten minutes to get sharpened. But if you wait for it to get fully dull, you’ll need a significant amount of sharpening time.
For new knives awaiting unboxing, make sure to sharpen them right out of the box. So that you can start with the sharpest edge required in traditional Japanese knives.
Another way to figure out the sharpness of your blade and whether it’s too dull or not is to do the paper test. If your knife can slice paper effortlessly without any catch or tear then it’s sharp enough to start with.
Why Do You Need A Japanese Water Stone
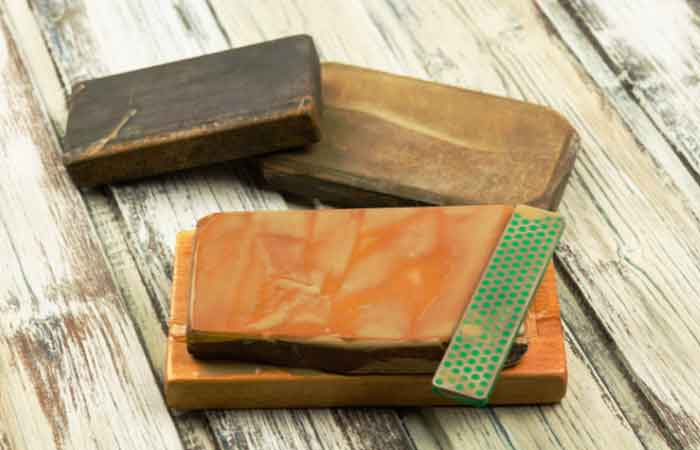
Since you know when to sharpen the knife, it’s time to check out the role of a Japanese Water Stone. Known for rapid sharpening, these stones require water before they show their magic.
Japanese water Stones makes a time-tested and the best tool around for sharpening, repairing, and polishing different kitchen knives.
These stones are a lot softer than regular whetstones. So they can create a razor-sharp cutting edge in minutes.
Being softer the Japanese water stones are much gentler on your Japanese knife. To date, these are considered one of the best tools that keep your cutleries in top shape.
Now let’s find out how to sharpen Japanese knives using the Japanese water stone below.
How To Sharpen Japanese Knife With Japanese Water Stone
You need to follow the steps below to sharpen your Japanese Knife using the Japanese water stone.
Step 1: Select Stone With Right Grit Grade
Grit refers to the coarseness of any particular stone. The higher its grade, the finer the stone. You can choose the grade of the grit based on the following considerations.
- 120 to 400 Grit Grade Stone is good for coarse work where you need to grind out notches.
- 700 to 2000 Grit Grade Stone is needed for your regular sharpening task.
- 3000 to 12000 Grit Grade Stone is ideal for honing away fine burrs and polishing the surface
If you’ve made your selection, you’re all set to move to the next step.
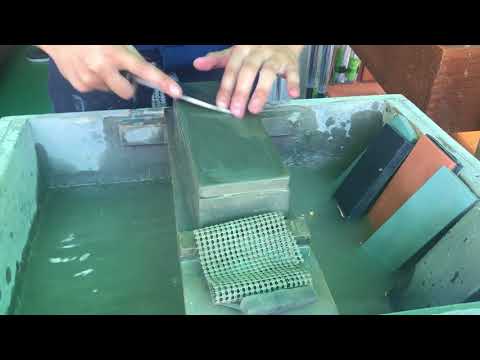
Step 2: Soak In Water
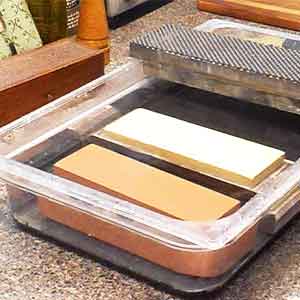
You must be aware that you can’t use oil on your water stone. It can ruin the stone. Instead, you need to soak it in water before using it.
Five minutes is generally enough but don’t soak it for more than ten minutes.
Also, remember not to expose the water stone to temperatures below Zero Degree C. They could get cracked. And also never leave it in water for a longer period of time.
Step 3: Find A Base Or Wet Cloth
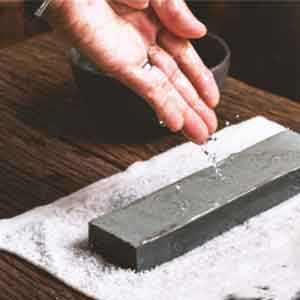
Put your stone on a base or weather cloth. It’ll provide stability while you sharpen.
The base raises the stone slightly off the working surface allowing you to have a more precise angle to work with.
Step 4: Hold The Knife And Take Position
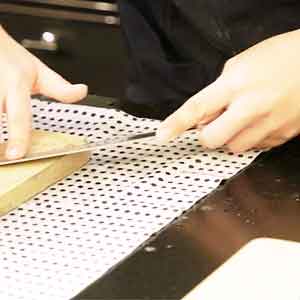
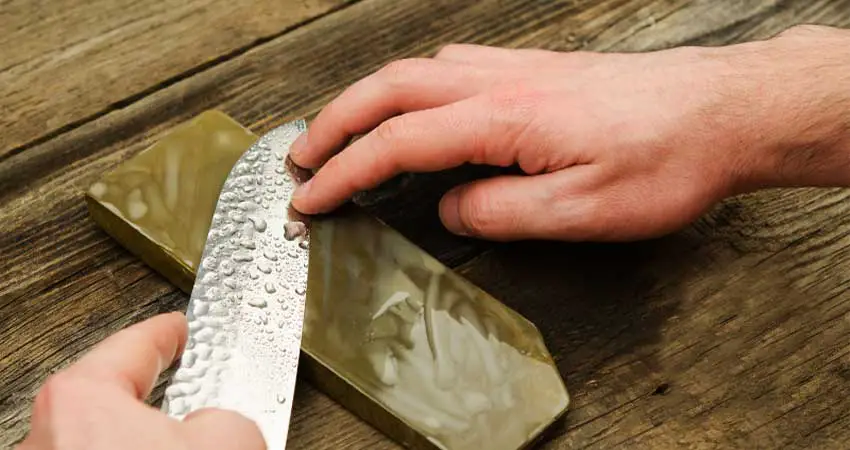
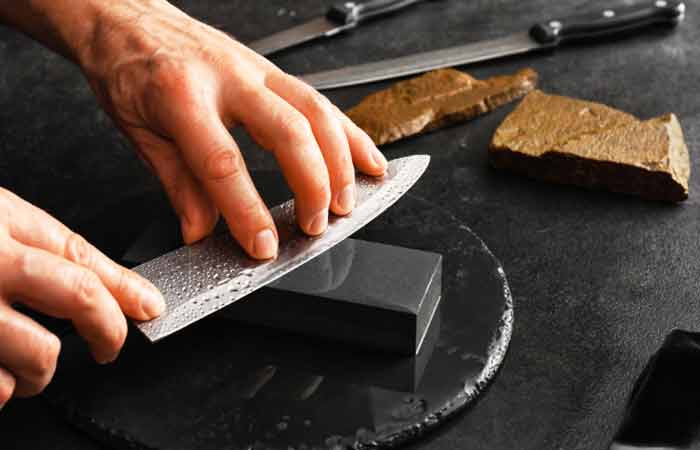
Now take your Japanese knife and hold it with the index finger resting on its spine. The thumb should be on the flat part of the blade while the remaining fingers should be grasping the handle.
Step 5: Time To Sharpen
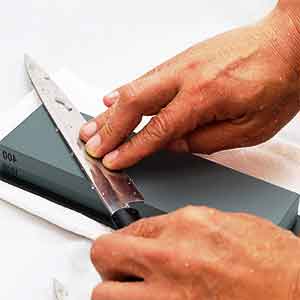
Now start sharpening with the knife tip first. You can use two or three-finger of your other hand (left one mostly) to press the blade edge to the water stone.
Make sure to have a firm grip on the knife.
The shoulders should square to the sharpening stone while the upper part of your body should be relaxed. Maintain the 15 to 20-degree angle while pressing the blade edge to the stone and pushing along it.
Apply a gentle and firm pressure to pull the knife across the stone. You’ve to exert pressure or push while you move forward and release pressure or pull while you get the blade back to the starting position.
The blade should glide evenly across the stone while you’re pulling and pushing.
Step 6: Repeat The Procedure
Continue what you’ve been doing. Press the blade edge as close as possible to the stone and sharpen a bit of its edge at a time.
After a certain time, a slight and even burr should be felt along the entire blade edge.
Step 7: Remove the Burr
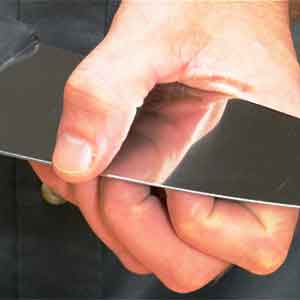
You should be sharpening the edge of your Japanese Knife until you feel a slight and even burr on its reverse side.
Once you have it, place your blade perpendicular to and flat against the Japanese water stone.
You can then remove the burr using your index and middle fingers to moderately press the edge to the stone while your thumb should be mildly pressing the knife spine.
Step 8: Preserve Concave Shape of the Reverse Side
You need to press both sides of your knife blade to preserve the slightly concave shape of its reverse side.
It will help you with your future sharpening. Consider your sharpening motion like ‘pushing water off the stone’.
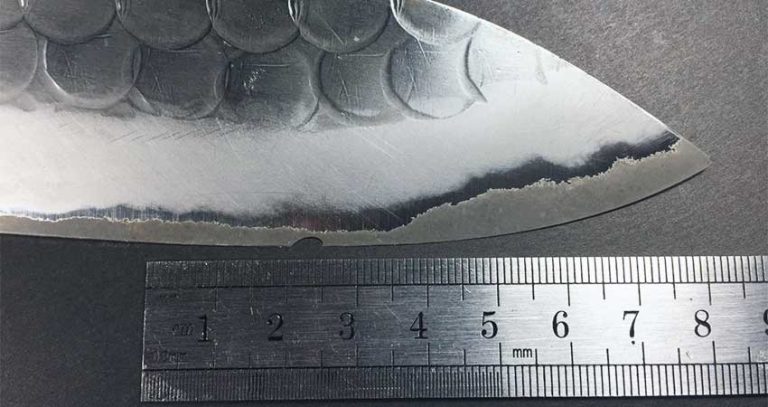
Step 9: Sharpen The Shinogi Line
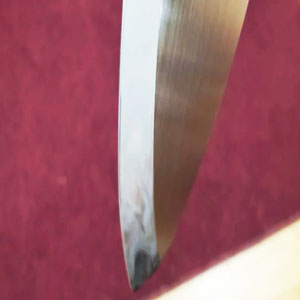
For Japanese knives, it’s important to sharpen their Shinogi line. It’s an important line indicating how the knife blade moves through the food ingredients.
You need to flip the blade over again and sharpen this line for better performance.
But make sure that it doesn’t get erased or altered while sharpening. To sharpen this line while preserving it, you need to move the fingers away from its edge and press just below the center of the blade.
Step 10: Clean, Hone, and Test
As you’re done with the sharpening, you should dry the stone and wrap that in a dedicated towel. Now hone the knife blade on honing steel to get its edge in alignment.
Finally, do some sharpness tests. You can do the paper cutting test, however, slicing an onion or a veggie will give a better idea about its sharpness.
If you can fly through them without resistance then you’re all set with your favorite Japanese Knife.
Conclusion
As we wrap things up, let’s have a quick recap of the whole thing here. We’ve seen why and how to sharpen Japanese knife with Japenese water stone.
The sharpening procedure is a pretty straightforward one.
Just make sure you’re choosing the right grit grade for the stone, maintaining a right angle while sharpening, and raising and removing the burr correctly. The rest of the tasks shouldn’t be a big deal.
Whether natural or synthetic, the Japanese water stones are a great investment for cutlery specialists.
Because none of the sharpening stones could sharpen Japanese knives or other kitchen knives like the Japanese water stone.

